感谢分享
深度好文
点赞,评论,收藏
不需要加减选项么?默认原来老内核选项编译会不会漏了一些需要编译的?
不需要加减选项么?默认原来老内核选项编译会不会漏了一些需要编译的?
默认的比较保险,有能力的可以尝试修改.config
内核编译过,现在只想养老了。

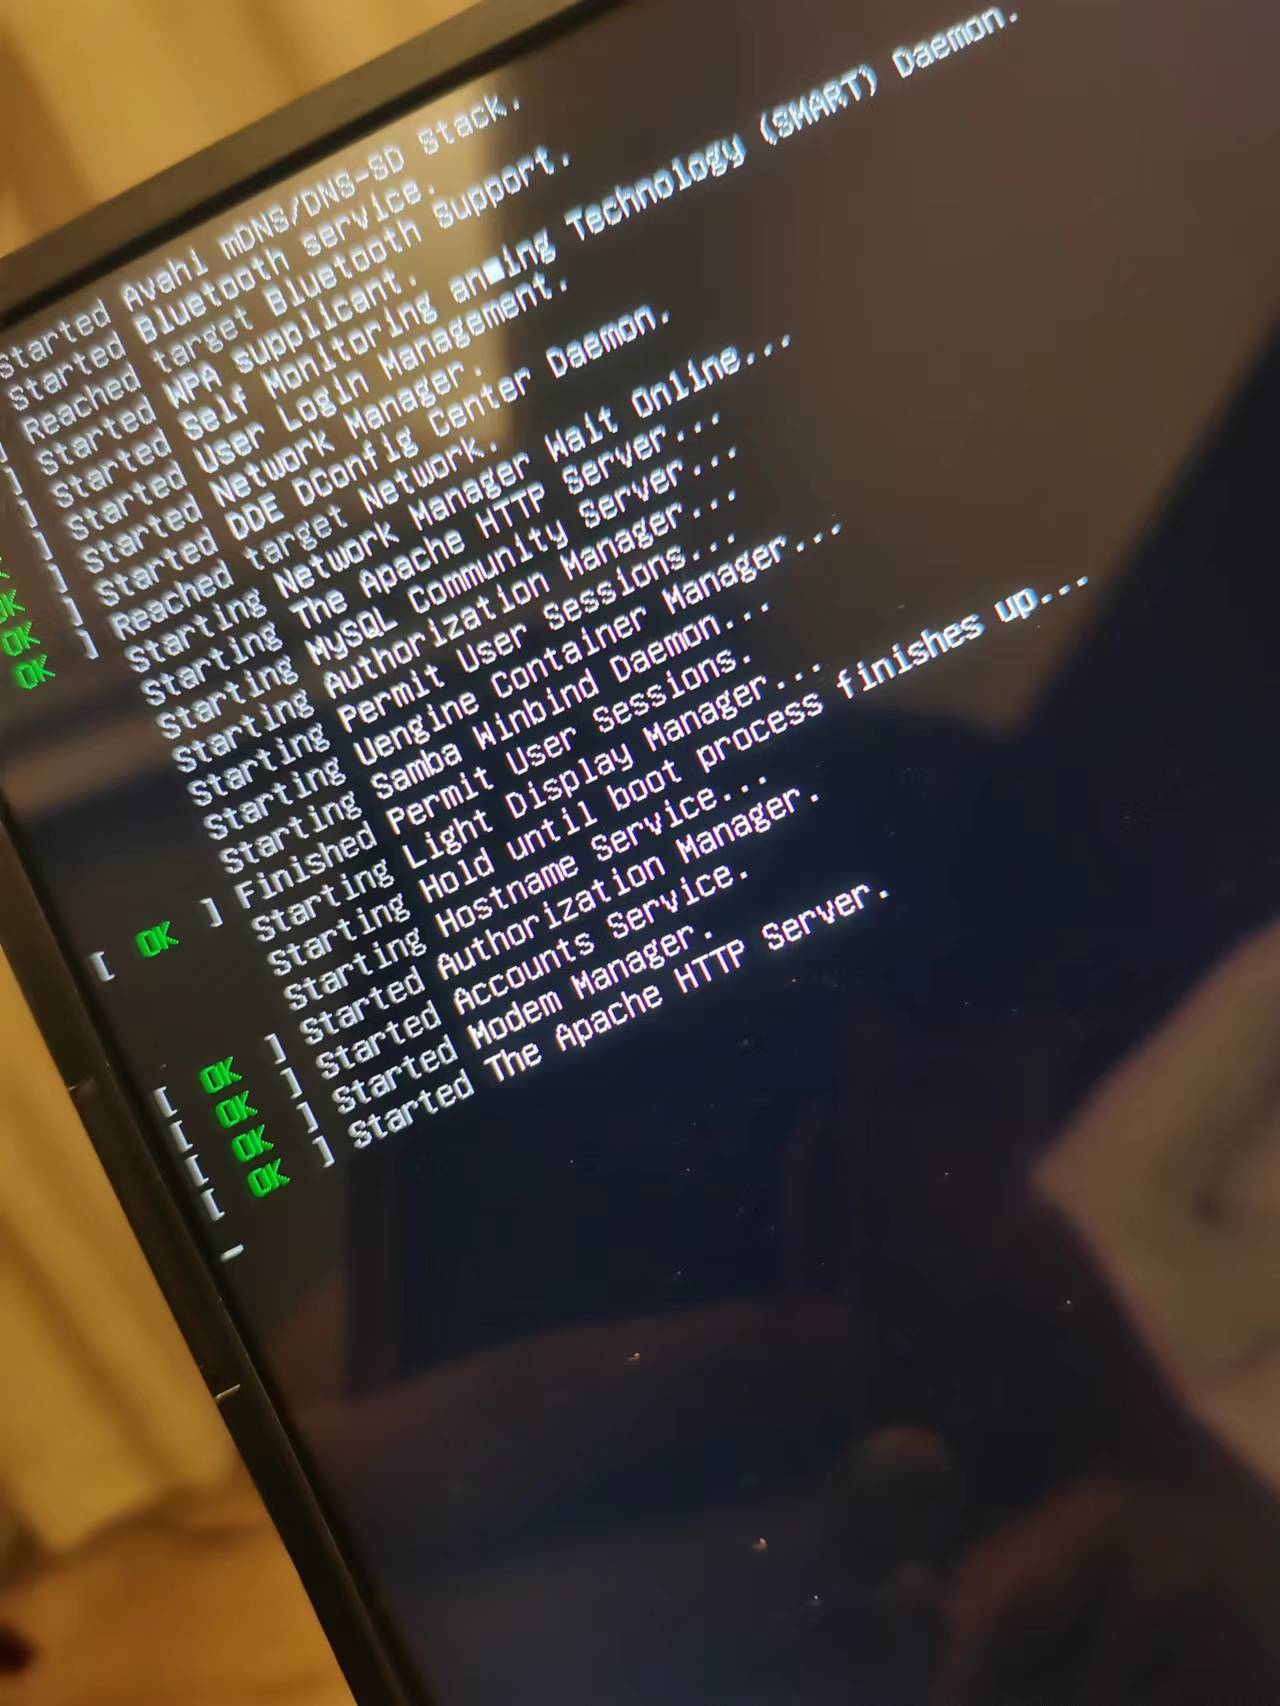
卡在这儿不走下一步了,不知道为啥?也没有报错 ! 完全按照上面步骤来的,期间没有报错
mainline:这个应该是开发版的意思吧
网上有的教程是这样编译和安装的,看起来比较简单。不知道跟你发的教程在最终效果上有什么不同?请指点一下
sudo make -j12
sudo make modules_install
sudo make install
已收藏,感谢
主线5.18版本我的amd-5800H机型存在着待机无法唤醒,桌面显示异常的问题
网上有的教程是这样编译和安装的,看起来比较简单。不知道跟你发的教程在最终效果上有什么不同?请指点一下
sudo make -j12
sudo make modules_install
sudo make install
主线5.18版本我的amd-5800H机型存在着待机无法唤醒,桌面显示异常的问题
我的目前没有发现什么问题
我的目前没有发现什么问题
我的使用情景是用笔记本当主机,笔记本盒盖使用。
打开蓝牙鼠标的唤醒功能。
官方的5.15内核和自编译的5.18内核都不能正常唤醒屏幕
不清楚属于哪方面的问题
插个眼,标记一下
手贱,试了一下,结果编译模块没完成系统盘空间不够了,请问怎么清理一下,不试了
手贱,试了一下,结果编译模块没完成系统盘空间不够了,请问怎么清理一下,不试了
sudo rm -rf /usr/src/linux-5.18
sudo rm -rf /usr/src/linux-5.18
谢谢。我招了下也找到了。之前系统盘空间不够,重新调整了下分区,可能光是把/usr/local分出去了,/usr还在根目录。不知道为什么deepin不让挪出来
默认的比较保险,有能力的可以尝试修改.config
#cp /boot/config-'uname -r' ./.config
这个改成这样
cp /boot/config-5.10.0-amd64-desktop -r ./.config
单引号想要不要去掉?谢谢
#cp /boot/config-'uname -r' ./.config
这个改成这样
cp /boot/config-5.10.0-amd64-desktop -r ./.config
单引号想要不要去掉?谢谢
cp /boot/config-5.10.0-amd64-desktop ./.config
我的目前没有发现什么问题
安卓环境无法使用
Popular Ranking
ChangePopular Events
More

 中文
中文 


linux内核官方网站:www.kernel.org
进入网站后下载该版本。下载点击对应 tarball
二. 开始前的准备工作
输入下面命令完成安装需要的包
sudo apt-get install libncurses5-dev openssl libssl-dev
sudo apt-get install build-essential openssl
sudo apt-get install pkg-config
sudo apt-get install libc6-dev
sudo apt-get install bison
sudo apt-get install flex
sudo apt-get install libelf-dev
sudo apt-get install zlibc minizip
sudo apt-get install libidn11-dev libidn11
三.内核编译(以下命令全部在root用户下执行)
#tar -xavf linux-5.18.tar.xz -C /usr/src
#cd /usr/src/linux-5.18
#make mrproper
#cp /boot/config-'uname -r' ./.config
#make menuconfig
依次点击load → (.config)OK→ SAVE→ (.config)OK →EXIT load后默认.config (ls -al)
4.编译内核. (15分钟)
#make bzImage -j4 (-j表示加速,4代表着线程数)
5.编译模块.(1小时左右,我电脑好像就用了40min,反正需要等待一定时间)
#make modules -j4
6.安装模块
#make INSTALL_MOD_STRIP=1 modules_install
7.打包
这个命令的作用是把/lib/modules/5.18中对应的.ko驱动打包到initrd.img文件中。
#mkinitramfs /lib/modules/5.18.0-amd64-desktop -o /boot/initrd.img-5.18- amd64-desktop
8.到此为止,构建内核完毕,把内核映象和System.map拷贝到/boot/下
#cp /usr/src/linux-5.18/arch/x86/boot/bzImage /boot/vmlinuz-5.18-amd64-desktop
#cp /usr/src/linux-5.18/System.map /boot/System.map-5.18
chmod 777 grub.cfg
update-grub2
重启,启动grub时就可看到自己新的内核
reboot